
Documentation Index
Fetch the complete documentation index at: https://docs.xagent.run/llms.txt
Use this file to discover all available pages before exploring further.
Building Agents
Learn how to create, configure, and publish custom agents for your specific needs.Getting Started
Prerequisites
Before building an agent, ensure you have:- At least one LLM configured - Required for agent to function
- Optional: Knowledge bases, skills, or custom tools
- Optional: Image generation models for visual tasks
Creating an Agent
Step 1: Navigate to Build Page
Go to Build in the left sidebar to access the agent management interface.Step 2: Create New Agent
Click New Agent to open the agent configuration editor.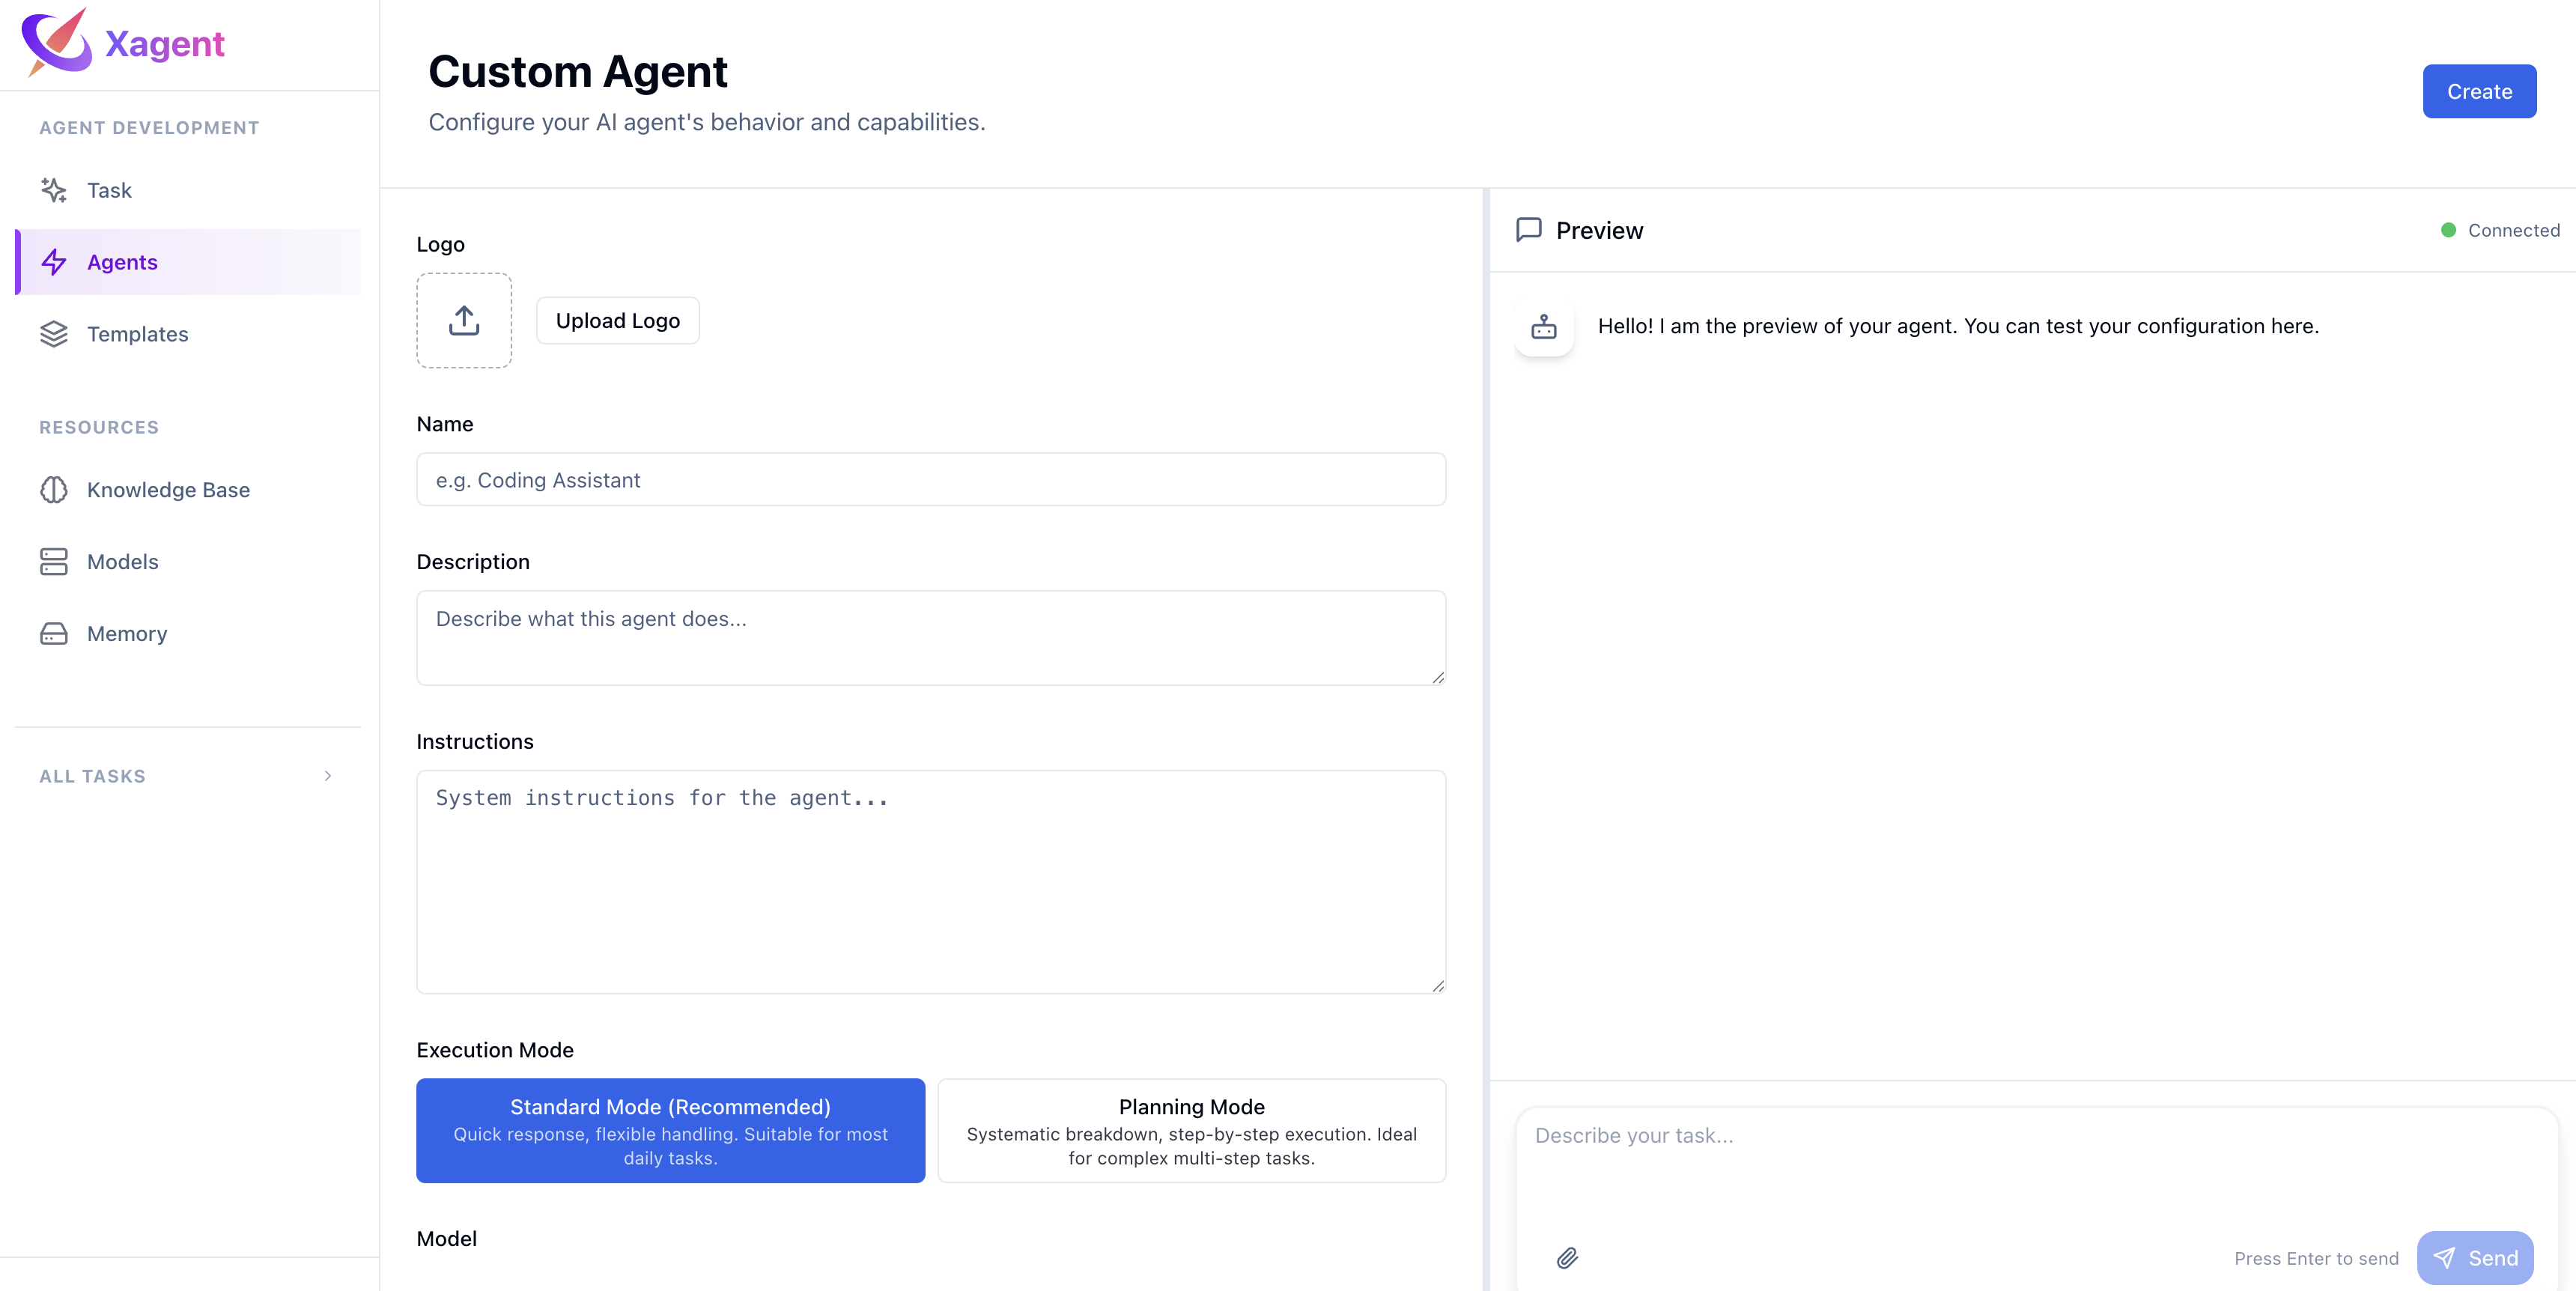
- Left panel: Configuration options
- Right panel: Live preview chat interface
Agent Configuration
Basic Information
Name (Required)- Maximum 200 characters
- Must be unique within your account
- Choose a descriptive name for your agent
- Brief explanation of what the agent does
- Helps users understand the agent’s purpose
- Upload an image to represent your agent
- Displayed in agent listings and chat interface
Execution Mode
Choose how your agent processes tasks: React Mode (Default)- ReAct loop: Reasoning → Acting cycle
- Best for: Most general-purpose tasks
- Agent thinks, takes action, observes results, repeats
- DAG planning-execution
- Best for: Complex, multi-step workflows
- Agent plans all steps first, then executes
Use React mode for most tasks. Switch to Graph mode for complex workflows that require careful planning.
AI Models
Configure models for different purposes: General Model (Required)- The main LLM for all task execution
- Handles planning, reasoning, and decision making
- Example: Claude 4.6 Sonnet, GPT 5.2
- Lightweight model for simple operations
- Reduces cost and improves speed
- Automatically used for simple steps identified during planning
- Multimodal LLM for image understanding
- Required for image-related tasks
- Enables tools like
understand_images,describe_images
- Specialized model for compressing long conversations
- Maintains context across extended sessions
- Triggered when conversation exceeds token threshold
Capabilities
Knowledge Bases (Optional)- Add domain-specific knowledge to your agent
- Agent can search and retrieve relevant information
- Upload documents or select existing knowledge bases
- Pre-built capabilities for specific tasks
- Enhance agent with specialized functionality
- Examples: Web search, database operations
- Select tool categories to enable:
- basic: Basic tools (web search, calculator, etc.)
- file: File upload and management
- vision: Image understanding
- image: Image generation and editing
- knowledge: Knowledge base operations
- mcp: MCP protocol tools
- browser: Browser automation
- ppt: PowerPoint processing
- office: Office document processing
Tools are automatically enabled based on selected categories. Agent will only have access to tools in chosen categories.
Suggested Prompts
Provide example prompts to help users get started:- “Analyze this sales data and create a report”
- “Generate a marketing plan for our new product”
- “Review these documents and summarize key points”
Testing Your Agent
Live Preview
Use the preview panel on the right to test your agent in real-time:- Type a message in the chat input
- Send and observe how your agent responds
- Upload files to test file handling
- Iterate on configuration based on results
- Test different settings before committing
- See immediate results
- Verify tool access and knowledge retrieval
Preview mode creates a temporary execution environment. Changes are only saved when you click Save.
What to Test
- Response quality: Does the agent understand the task?
- Tool usage: Are the right tools being used?
- Knowledge retrieval: Does it find relevant information?
- Execution mode: React vs Graph behavior
- Model selection: Are the configured models working?
Saving Your Agent
Auto-Save
Your configuration is automatically validated but not saved until you explicitly save.Manual Save
Click Save to persist your agent configuration:- Agent is saved with draft status
- Only you can see and edit draft agents
- Saved agents appear in your Build page list
Editing Existing Agents
- Go to Build page
- Click Edit on the agent card
- Make changes to configuration
- Click Save to update
Publishing Your Agent
When to Publish
Publish your agent when:- Configuration is complete and tested
- Ready to share with others
- Production-ready workflows
Publishing Process
- Save your agent first
- Click Publish button
- Agent status changes from draft to published
- Publication timestamp is recorded
- Agent becomes visible to authorized users
Unpublishing
To unpublish an agent:- Go to Build page
- Click Unpublish on the published agent
- Agent status returns to draft
- Agent is no longer accessible to users
Unpublishing doesn’t delete the agent. You can republish it later.
Chatting with Your Agent
Starting a Conversation
Once published, users can chat with your agent:- Find the agent in the agents list
- Click on the agent to open its detail page
- Type a message or use a suggested prompt
- Agent responds using its configuration
Agent Execution
When chatting, the agent:- Uses its configured models for reasoning
- Follows its execution mode (React or Graph)
- Accesses enabled tools based on tool categories
- Retrieves information from knowledge bases
- Applies its instructions and skills
Task Creation
Each conversation creates a task:- Task is linked to the agent
- Execution uses agent’s configuration
- Results are saved in task history
- Can view full execution trace
Agent Templates
Using Templates
Jump-start agent creation with pre-built templates:- Go to Build page
- Click New Agent
- Select a template
- Template populates configuration
- Customize as needed
Available Templates
Common agent templates include:- Customer Support: FAQ handling, documentation search
- Data Analyst: Data processing, visualization, reporting
- Research Assistant: Information gathering, synthesis
- Content Creator: Writing, editing, image generation
Templates provide starting points. Always test and customize for your specific use case.
Best Practices
Start Simple
- Begin with React mode for most use cases
- Enable only necessary tool categories
- Add knowledge bases after testing basic functionality
- Use preview to iterate quickly
Define Clear Purpose
- Specific name and description
- Focused skill set
- Relevant suggested prompts
- Appropriate tool access
Test Thoroughly
- Use preview before publishing
- Test with various inputs
- Verify tool access is appropriate
- Check knowledge retrieval accuracy
Iterate and Improve
- Monitor agent performance
- Gather user feedback
- Update configuration as needed
- Republish after changes
Troubleshooting
Agent Not Responding
Check:- General model is configured
- Model has available API quota
- Network connectivity is working
Tools Not Available
Verify:- Tool categories are selected
- Models for specific tools are configured (e.g., Visual model for vision tools)
- Tool permissions are properly set
Knowledge Not Retrieved
Check:- Knowledge bases are attached
- Documents are indexed
- Embedding model is configured
- Search queries are specific
Preview Not Working
Try:- Refreshing the page
- Re-opening the editor
- Checking browser console for errors
- Verifying model configuration
Next Steps
- Templates - Explore pre-built agent templates
- Knowledge Base - Add domain knowledge to your agent
- Tools - Understand available tools
- Models - Configure AI models for your agent
- Tasks - Learn about task execution